
Mailchimp
With Mailchimp, set up automatic emails for consumers who abandon their carts. These emails can incorporate deals such as coupon codes in order to re-attract the consumer to complete their purchase. Utilizing Mailchimp for cart abandonment email retargeting efforts can have a 20-30% recovery rate.
Prerequisites: Before beginning, set up your FastSpring Storefront and a Mailchimp account. The Mailchimp account may be Enterprise, Standard, Essentials, or the Free account.
When a consumer visits your Store and initiates the checkout process without completing it, FastSpring communicates the consumer’s email address (collected during checkout) to your Mailchimp account. Then, Mailchimp adds the email address to an Abandoned Cart Audience list for your account. After the email is added, Mailchimp launches an automation which sends the buyer an email inviting them to complete their purchase.
Connect Your FastSpring Account to Mailchimp
FastSpring has updated the integration with Mailchimp to utilize its version 3.x API. This new version provides an improved user experience, greater cart data, and enhanced security for your Mailchimp account.
Configure Mailchimp 3.x – New Version
-
In the FastSpring App, navigate to Developer Tools > Extensions.
-
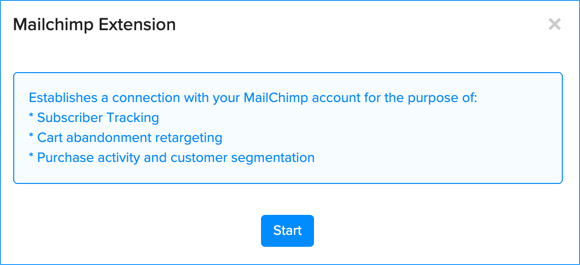
Select the Mailchimp (New Version) tile and click Start. A new browser window appears displaying a Mailchimp login screen.
This login is a request to establish an OAuth connection between FastSpring and Mailchimp. OAuth is an open standard for authorization & authentication. Applications use OAuth to provide client applications with “secure delegated access”. OAuth works over HTTPS and authorizes devices, APIs, servers, and applications with access tokens rather than credentials.
- When prompted by Mailchimp, enter your Mailchimp credentials (Username and Password) in the Log in and authorize window and click Log In.
You may need to click to Accept All Cookies before you can enter your Mailchimp credentials.
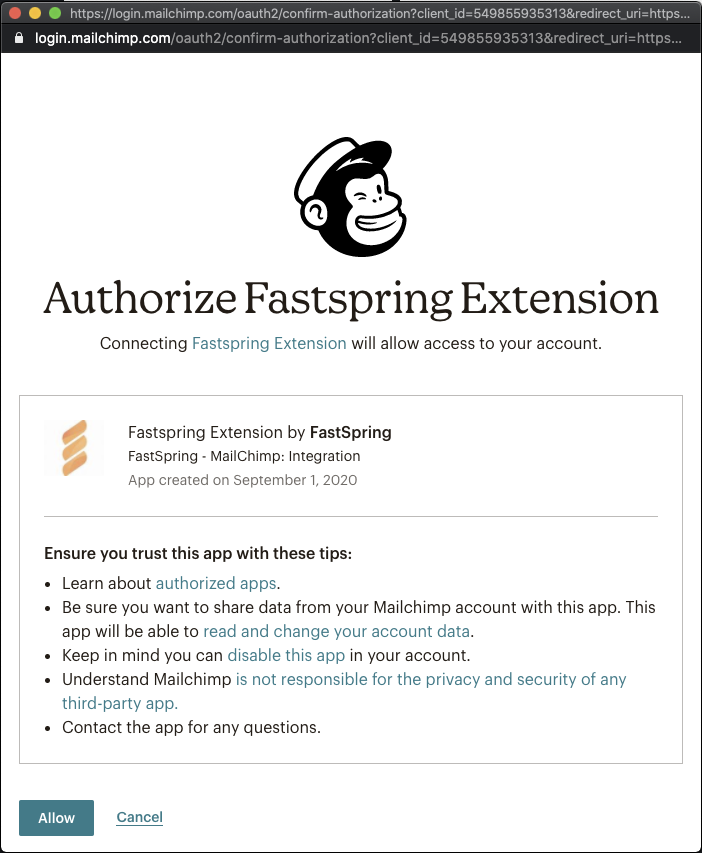
- In the Authorize FS Register window, click Allowto authorize FastSpring to have access to your Mailchimp account.
You may need to go through an additional authentication step if you have multi-factor authentication enabled in your Mailchimp account.
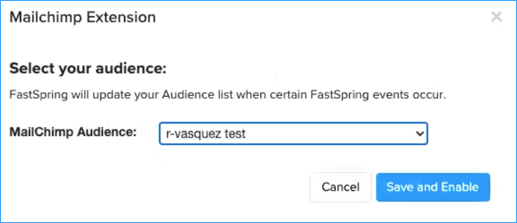
- In the Mailchimp Extension window, select an option from the Mailchimp Audience drop-down and click Save and Enable.
- Contact FastSpring Support to complete the setup for this extension.
The Mailchimp extension tile will show an “on” indicator but will not work until you contact Support to complete the integration setup.
Configure Mailchimp 2.x – Previous Version
Mailchimp 2.x will only appear as an option if you previously enabled it before the Mailchimp 3.x extension became available.
- On the Extensions tab, click the MailChimp logo.
- In the MailChimp window, click Setup.
- In the API Key field, enter or paste the API Key from your MailChimp account.
- In the Unsubscribed List ID field, enter or paste the List ID found in the settings of the unsubscribed customer list from your MailChimp account.
- In the Subscribed List ID field, enter or paste the List ID found in the settings of the subscribed customer list from your MailChimp account.
- In the Abandonment List ID field, enter or paste the List ID found in the settings of the abandoned visitors’ list from your MailChimp account. This is the list that FastSpring uses for visitors who abandon the Store without completing a purchase.
- Click Enableto save your changes.
Configure the FastSpring to Mailchimp Integration
After you connect your FastSpring Account to Mailchimp (see above), Integration is created. The Integration is the connection between FastSpring and Mailchimp, which you can configure to automatically respond to new email addresses collected in your Store.
- Log in to your Mailchimp account and click the Integrations link. [Mailchimp recently made changes to their user interface. Depending on your account, you may find the Integrations link in different locations. You may see the Integrations link as a 4-square icon on a vertical navigation bar on the left side of the page.]

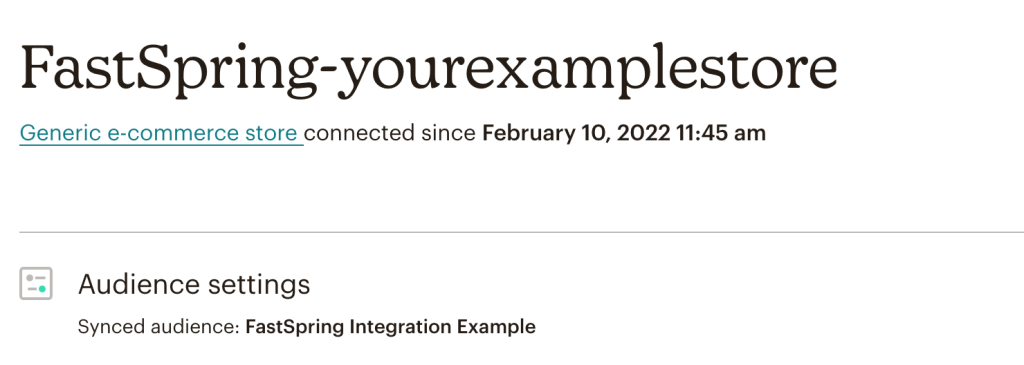
- In the Integrations page, click the Manage Your Sites button. [In the Site Management page, the name of the connected Store is displayed on the page heading following a naming convention of FastSpring-Storefront Name. For example, the image below reflects the connection between the FastSpring Your Example Store & the corresponding Mailchimp account. The page also reflects that Mailchimp is now syncing email addresses from this Integration to an Audience called “FastSpring Integration Example.”]
- For Abandoned Cart Email, click Add. The Abandoned Cart Notification page appears.
- Specify various options for sending recovery-targeted emails to potential buyers: when to email buyers, sender details, subject line & body content including layout.
Mailchimp provides a number of themes and layout options so we recommend you take your time designing an email that is actionable and incentivizes buyers to return to your website to complete their purchase.
Verify the Integration
There are multiple ways to verify that the email addresses entered in an abandoned card are being added to your Mailchimp Audience. One way is to navigate to the Integrations page in Mailchimp to confirm that your FastSpring Storefront has been connected to your Mailchimp account. Alternatively, you can test the abandoned cart scenario.
Create an Abandoned Cart Scenario:
- Test an Order for the Storefront.
- If this is a Popup Storefront, you can launch a checkout via the Store Builder Library.
- When checking out, enter your email address. Optionally include additional information (name, address, phone number).
- When you enter the email address, the checkbox labeled Get updates about our products and offerings must be checked in order for FastSpring to communicate the data to Mailchimp.
- After a few minutes, close the browser tab or window. This implies you are abandoning your purchase.
- After the Cart records your email address, a 30-minute timer is initiated. After no activity for 30 minutes, FastSpring considers the cart abandoned. A job manager will pick up the abandoned cart flag on the session, and communicate the data to your Mailchimp Audience.
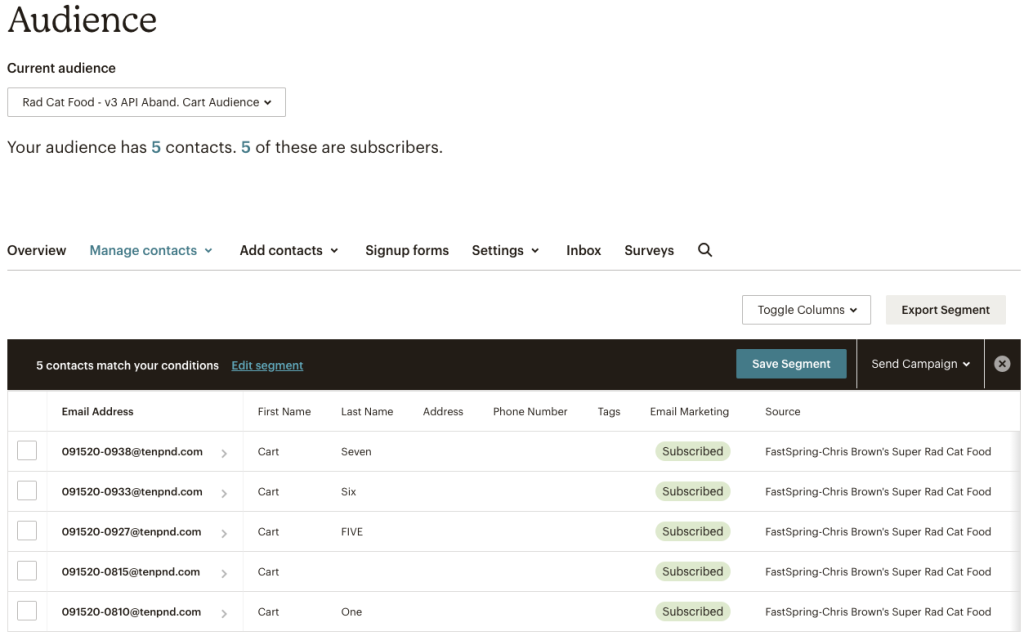
- After 45 minutes have passed, log in to your Mailchimp account. Navigate to the Audiences page to verify the email address with which you tested is there.
In the image below, the Mailchimp Audience reflects the 5 timestamped email addresses used to create separate abandoned cart scenarios.
Subscriber Opt-In Configuration Options
The Get updates about our products and offerings checkbox in the checkout process must be checked in order for FastSpring to communicate these email addresses and cart data to Mailchimp.
As a seller, you can choose whether the opting in to seller communications is On or Off by default.
- In the FastSpring App, select Storefronts, then click the Settings button on the applicable Storefront.
- Under Customer Information, there is a drop-down labeled Newsletter Subscription Checkbox.
- Show, Checked – include the checkbox for subscription emails, and leave it selected by default. Consumers must manually deselect the checkbox to unsubscribe from emails.
- Show, Unchecked – Show the checkbox for subscription emails in the checkout page, but leave it deselected by default. Consumers must manually check it to receive emails.
- Hide – The checkbox is unavailable to consumers.

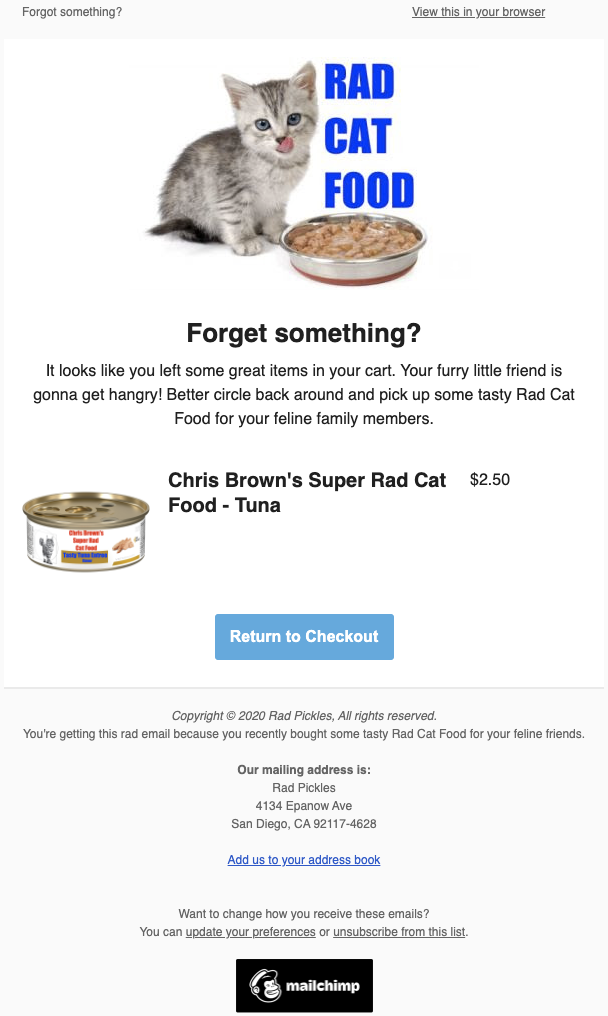
Example Email
Pictured below is an example of a retargeting email initiated by Mailchimp. Version 3 of the integration includes elements such as:
- Products in the consumer’s Cart
- Name and address (if entered before they abandoned the cart)
- Link to return to the Store to complete their purchase
Additional Resources
Mailchimp offers additional functionality and advanced features that leverage additional marketing techniques. To better leverage Mailchimp for email marketing, take advantage of external resources, such as Mailchimp Knowledge Base.
Updated 4 months ago